最近Vagrantの便利さを知って、すべてをVagrantで書き直したい今日このごろです。
10年以上前からインフラ弄ってますが、思いかえせばやっている現場では手製Vagrantファイル的なものを自己流で作ったり、デプロイ用のスクリプトを書いたりしたのもです。良い時代になりましたね。
概要
VagrantでRuby on Railsな環境を作ったメモです。
基本的にこちらの記事を参考にさせて頂いてますが、boxが変わっているため手順が増えている感じです。
Vagrant で Ruby on Rails の環境を構築するまでの手順
個人的な備忘録なので不親切です。
あとrailsは詳しくないのでgemのくだりあたりから何でそれが要るのか判らずにやっています。
環境
ホストはMac OS X YosemiteですがVagrantのゲストOS上の話なんであんま関係ないです。
Vagrant と Virtualbox は入っているものとしています。
CentOS: 7.0 (x86_64)
rbenv: rbenv 0.4.0-129-g7e0e85b
Ruby: 2.2.0
Rails: 4.2.0
VagrantのBoxを用意
参考記事のboxのリンク切れだったので、https://github.com/opscode/bentoからCentOS7なboxをaddしました。
mkdir -p ~/vagrant/rails_tutorial
cd ~/vagrant/rails_tutorial
vagrant box add centos7 http://opscode-vm-bento.s3.amazonaws.com/vagrant/virtualbox/opscode_centos-7.0_chef-provisionerless.box
vagrant init centos7
Vagrantfileを編集
vi Vagrantfile
# -*- mode: ruby -*-
# vi: set ft=ruby :
Vagrant.configure(2) do |config|
config.vm.box = “centos7”
config.vm.network “private_network”, ip: “192.168.33.10”
config.vm.provision “shell”, inline: < <-EOT # iptables off systemctl stop firewalld systemctl mask firewalld yum -y update yum -y install git yum -y install gcc yum -y install openssl-devel yum -y install libffi-devel yum -y install libxml2-devel libxslt-devel yum -y install sqlite-devel yum -y install gcc-c++ yum -y install readline-devel git clone https://github.com/sstephenson/rbenv.git ~/.rbenv echo ‘export PATH=“$HOME/.rbenv/bin:$PATH”’ >> ~/.bash_profile
echo ‘eval “$(rbenv init -)”‘ >> ~/.bash_profile
source ~/.bash_profile
git clone https://github.com/sstephenson/ruby-build.git ~/.rbenv/plugins/ruby-build
# rbenvリポジトリをclone
cd /usr/local/
git clone git://github.com/sstephenson/rbenv.git
echo ‘export RBENV_ROOT=”/usr/local/rbenv”‘ >> /etc/profile
echo ‘export PATH=”${RBENV_ROOT}/bin:${PATH}”‘ >> /etc/profile
echo ‘eval “$(rbenv init -)”‘ >> /etc/profile
# ruby-buildプラグインをインストール
mkdir -p /usr/local/rbenv/plugins
cd /usr/local/rbenv/plugins
git clone git://github.com/sstephenson/ruby-build.git
EOT
end
Vagrant起動
vagrant up
して暫くまって、
vagrant ssh
su –
vagrant (初期パスワード)
Ruby / Ruby on Railsのインストール
全てをVagrant ファイルのシェルスクリプトでやろうとしたんですがうまく行かず・・・
仕方なく手動で投入した分がこちら。
ホントはいくつか躓いては調べたんですけど、メモって無かったので結果だけ。
rbenv install -l
rbenv install 2.2.0
rbenv global 2.2.0
gem install multi_json -v ‘1.10.1’
gem install nokogiri — –use-system-libraries
gem install rails –no-ri –no-rdoc
rbenv exec gem install bundler
rbenv rehash
source ~/.bash_profile
プロジェクトを作成し
rails new myproject
Gemfileを編集し
vi myproject/Gemfile
gem ‘therubyracer’, platforms: :ruby
echo “gem ‘rb-readline’” >> cat/Gemfile
Railsを起動
myproject/bin/bundle install
cd myproject
rails server -b 0.0.0.0
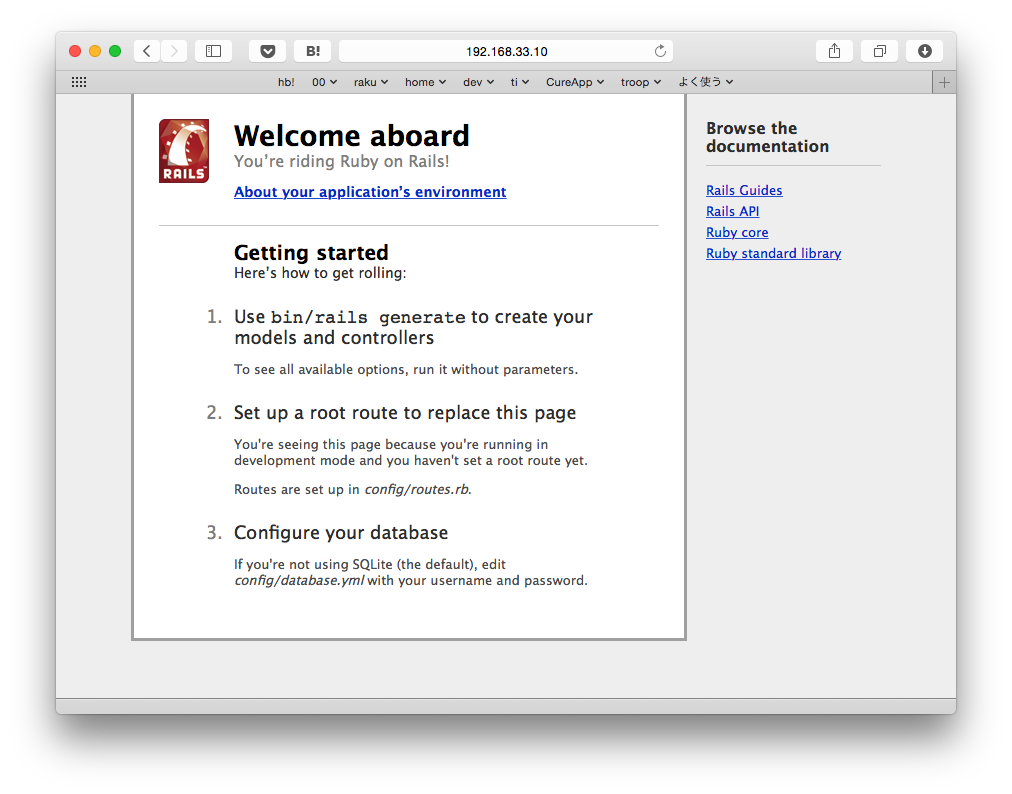
ブラウザで以下が見られる事を確認する
こういうの。
Railsは3の頃にちょろちょろ弄りだしたものの、仕事ではphpがメインなのでなかなか進まず。
頑張って弄っていこうと思います。